Installation Guide (Standalone PC)
Contents
Overview
This installation scenario is appropriate for when you only need Icare on a single PC.
This installation is built around the LocalDB edition of Microsoft SQL Server 2012.
Requirements
- Windows 7 or newer.
Install Microsoft SQL Server 2012 Local DB
| Download the installer:
|
|
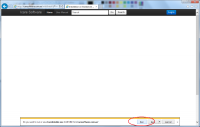
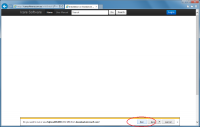
| You will be asked if you want to Run or Save the file, click
The file will be download and then a security scan will be performed |
|
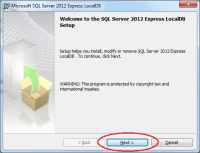
| When the installer has downloaded and all security scans have completed the installer will start on it's Welcome page
Click the button. |
|
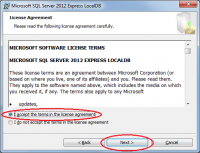
| Tick the I accept the terms in the license agreement
Click the button. |
|
| Click the button. | 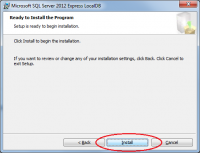
|
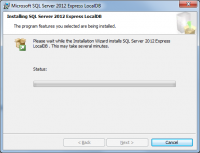
| Wait whilst the installation proceeds.
You may be asked to if you wish to allow this program to make changes to your computer, click |
|
| Once the installation is complete, click the button. | 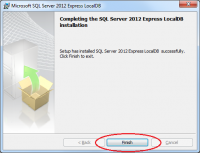
|
Install Microsoft SQL Server Native Client
| Download the appropriate installer:
|
|
| You will be asked if you want to Run or Save the file, click
The file will be download and then a security scan will be performed |
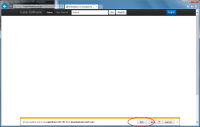
|
| When the installer has downloaded and all security scans have completed the installer will start on it's Welcome page
Click the button. |
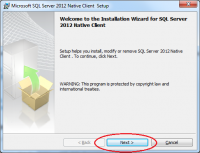
|
| Tick the I accept the terms in the license agreement
Click the button. |
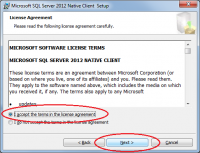
|
| You do not need to change any of the Feature selections.
Click the button. |
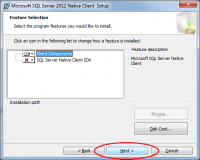
|
| Click the button. | 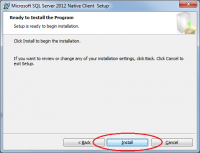
|
| Wait whilst the installation proceeds.
You may be asked to if you wish to allow this program to make changes to your computer, click |
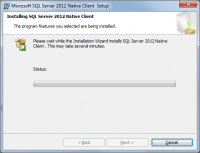
|
| Once the installation is complete, click the button. | 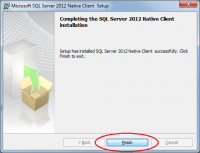
|
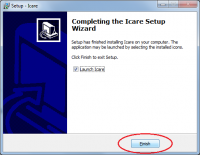
Install Icare
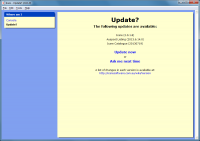
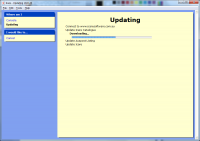
Update Icare if needed
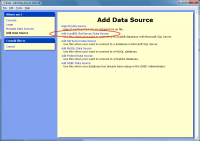
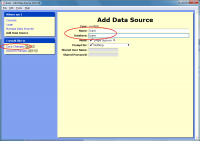
Add Data Source
Next Steps
Now that the Icare software has been installed, you can continue with one of the two following steps:
- Import from your current Ted or Icare database (Import Guide)
- Creating your first user account (First User Account Guide)
